You can use the whitelisting feature to restrict your participants.
- This feature is available at the fourth step of poll setup for single question polls. While for poll groups, this feature is available at the bottom of the engagement setup page.
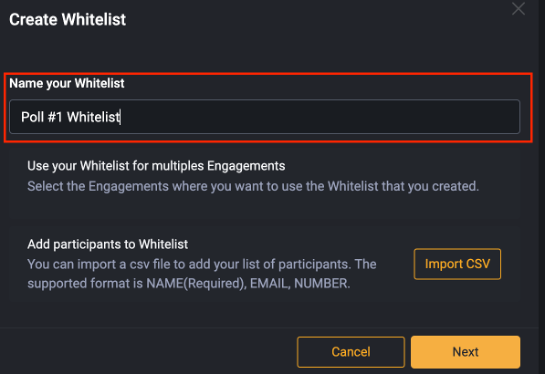
- To create your participant’s whitelist, click on Create Whitelist.

- On the whitelist pop-up, enter the name of your whitelist. This is for identifying your unique whitelist in case you want to re-use the list later.
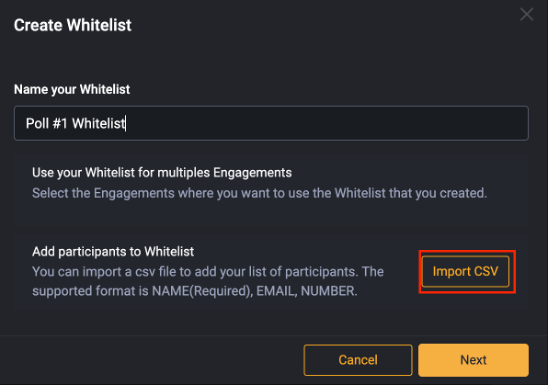
- You can choose either to key-in your voter list manually or upload a list file (in csv format).
- To upload the voter’s list, click on the Import CSV button and then proceed to choose and upload your file.
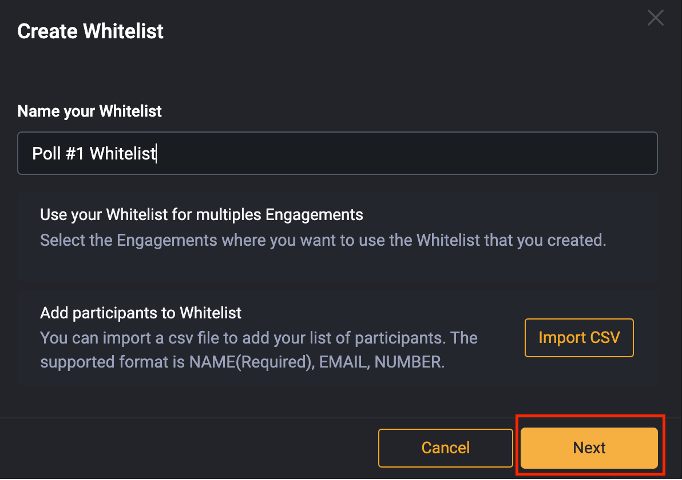
- For manual key-in, click on Next button to proceed.
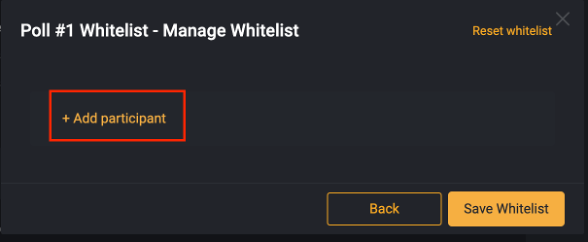
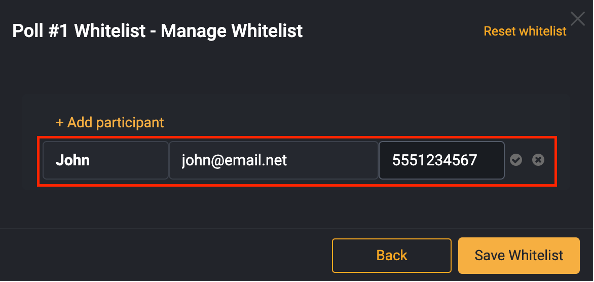
- In the next window, click on + Add Participant and then start entering the person’s name, email address and/or phone number.
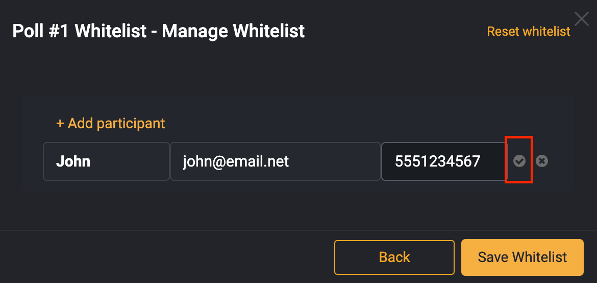
- Click on the tick button beside the participant’s details to save it.
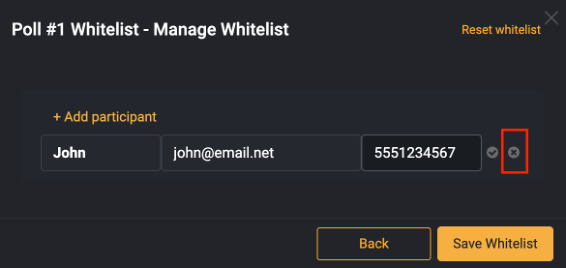
- To remove the participant, click on x button beside participant’s details.
- To add more participants, click again on + Add participant.
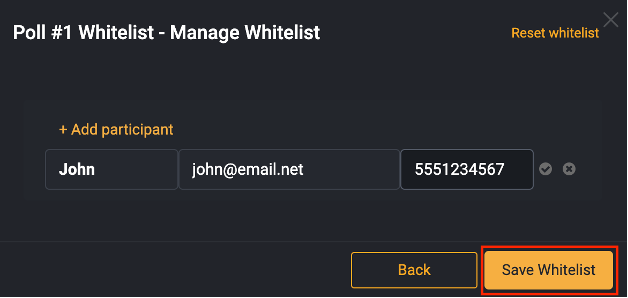
- After completed keying-in the participants, click on Save Whitelist.
- Once completed, to send the email invite for web-based voting, click on the Send Email button to send the invite link to the participants for them to start voting on your poll. Please ensure that you have completed and saved your poll before sending the invite.

- For SMS voting (only applicable for single question live engagement), refer to the SMS Voting section for how the participants can cast their vote. Only the votes from phone numbers registered in the whitelist will be counted.
- To edit your whitelist, click on Manage Whitelist.

- To clear your whitelist, click on Clear Whitelist.

For a step-by-step walkthrough, check out the tutorial video here.